Easter Cookies
Cute bunny cut-out cookies perfect for family celebrations, these Easter cookies have a sweet and buttery base topped with meringue icing. With chewy centers but crispy edges, the cookies are a delicious addition to the dessert table.

A fun one to get kids in the kitchen and make the dessert options more cheerful, these Easter cookies are as cute as they are flavorful. With a sweet vanilla taste,e the cookies are cut into bunnies (or any other easter shape you want) and then iced with an easy meringue.
Put your decorating skills to the test and add as much detail as you can to make these Easter cookies extra special. They’re a tasty treat that the whole family loves and they even make cute gifts for friends and neighbors.
Ingredients
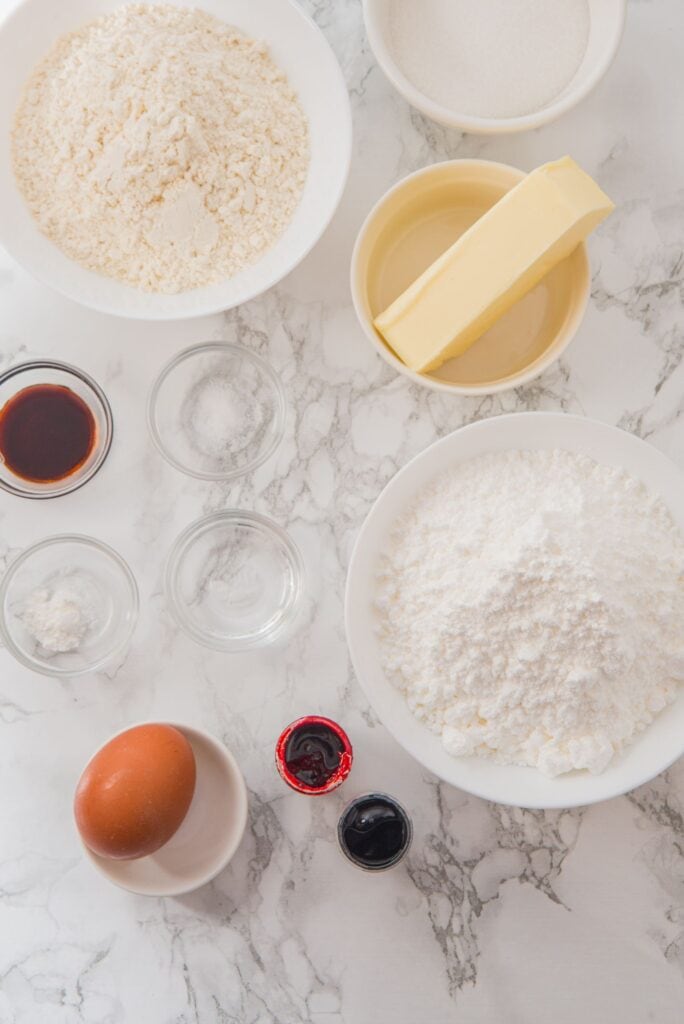
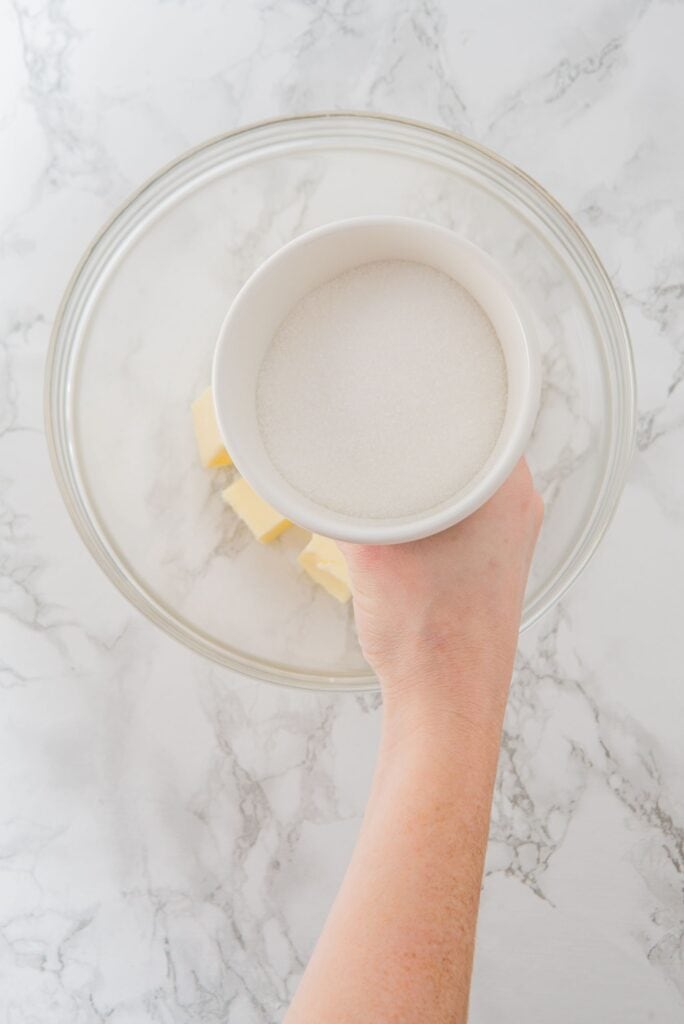
- 1/2 cup butter, room temperature
- 1/2 cup sugar
- 1 egg
- 1 1/2 cups all-purpose flour
- 1/4 teaspoon baking powder
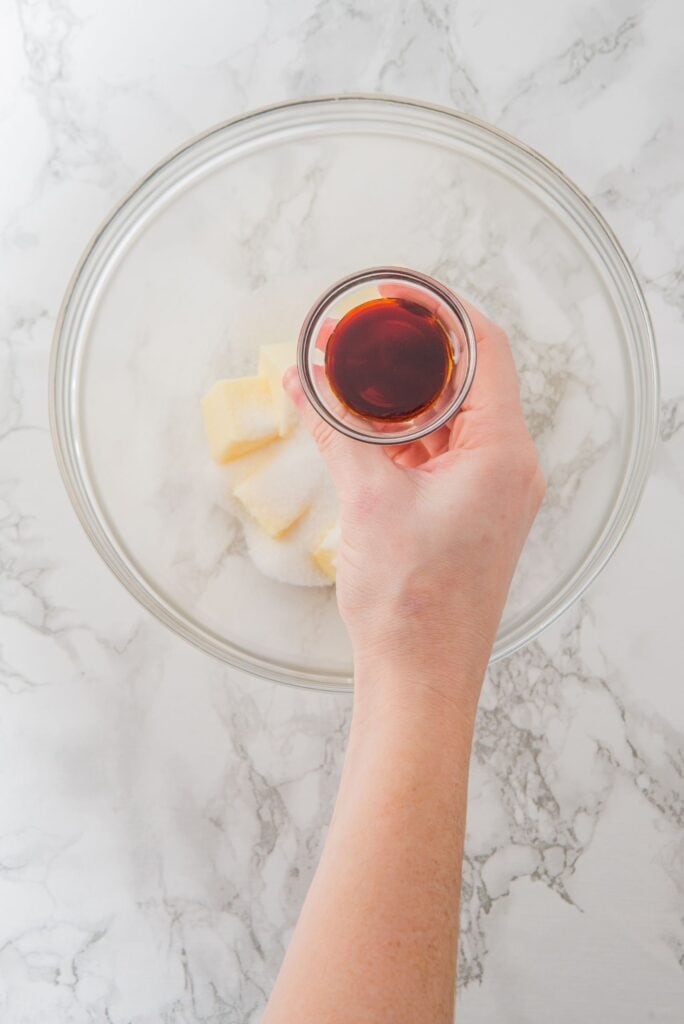
- 1 teaspoon vanilla extract
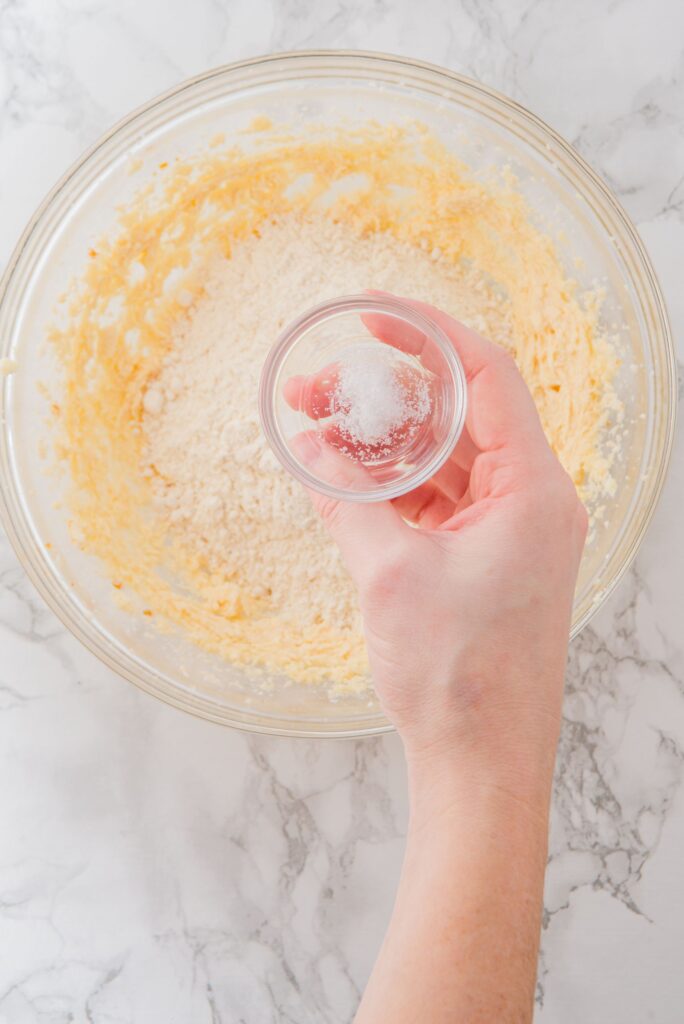
- pinch salt
For the icing:
- 3 cups powdered sugar
- 1 tablespoon meringue powder
- 2-3 tablespoons water
- Red food coloring
- Black food coloring
Preparation time:
Prep time (cookie dough): 10 minutes
Chill time: At least 3 hours, preferably overnight
Rolling and cutting: 10-15 minutes
Chill time before baking (optional): 5 minutes
Bake time: 8-9 minutes
Cooling time: 15-20 minutes
Icing preparation (mixing and coloring if needed): 10-15 minutes
Decoration: 30 minutes
Approximately 18 cookies
Directions
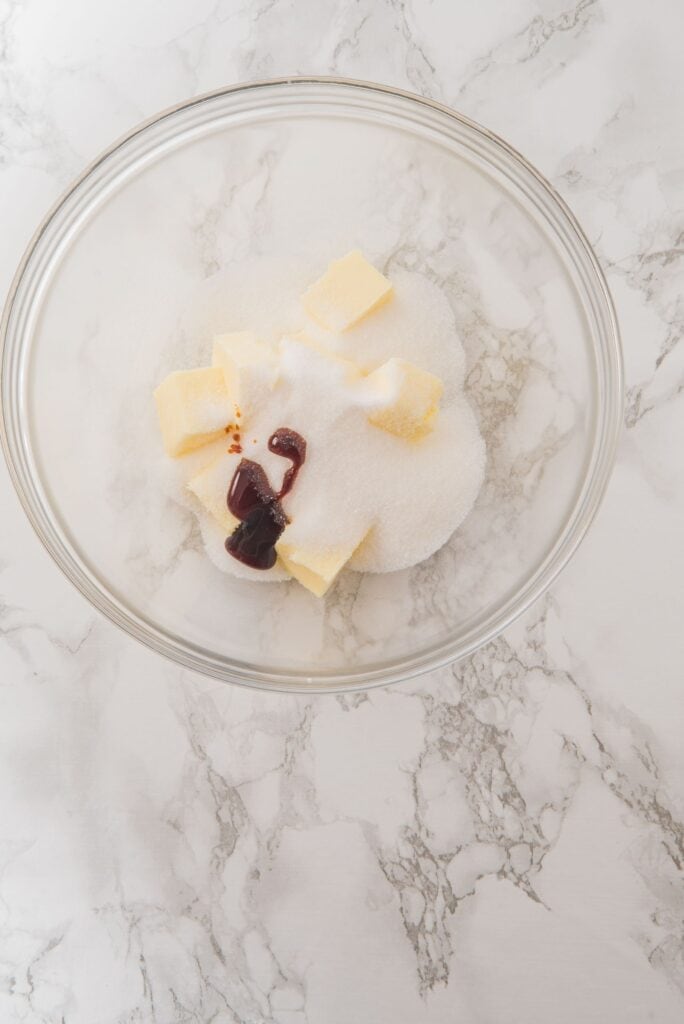
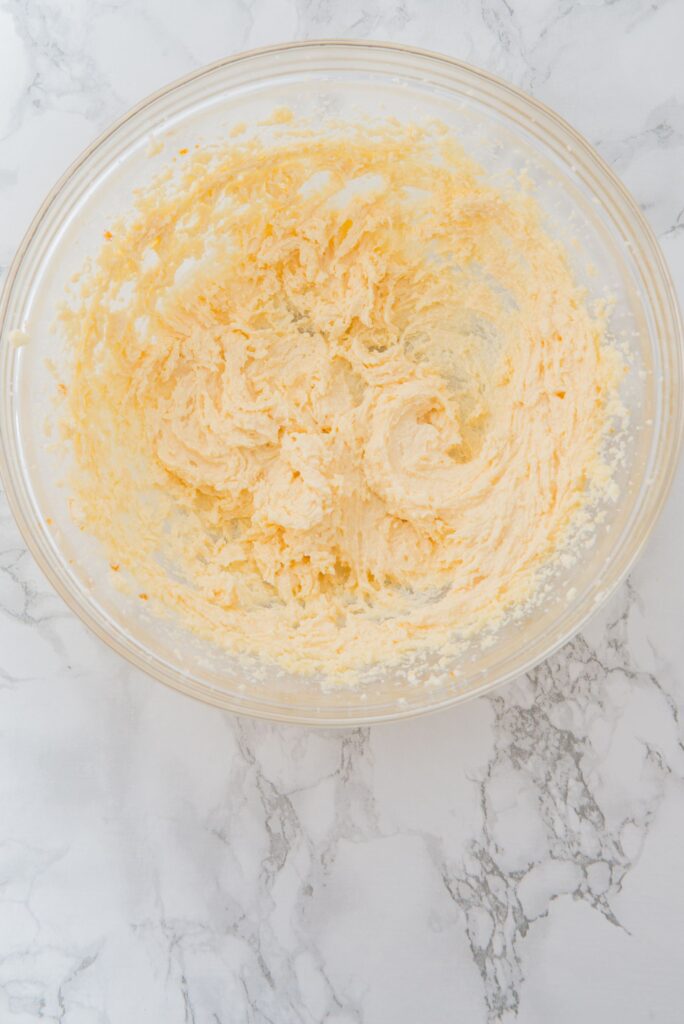
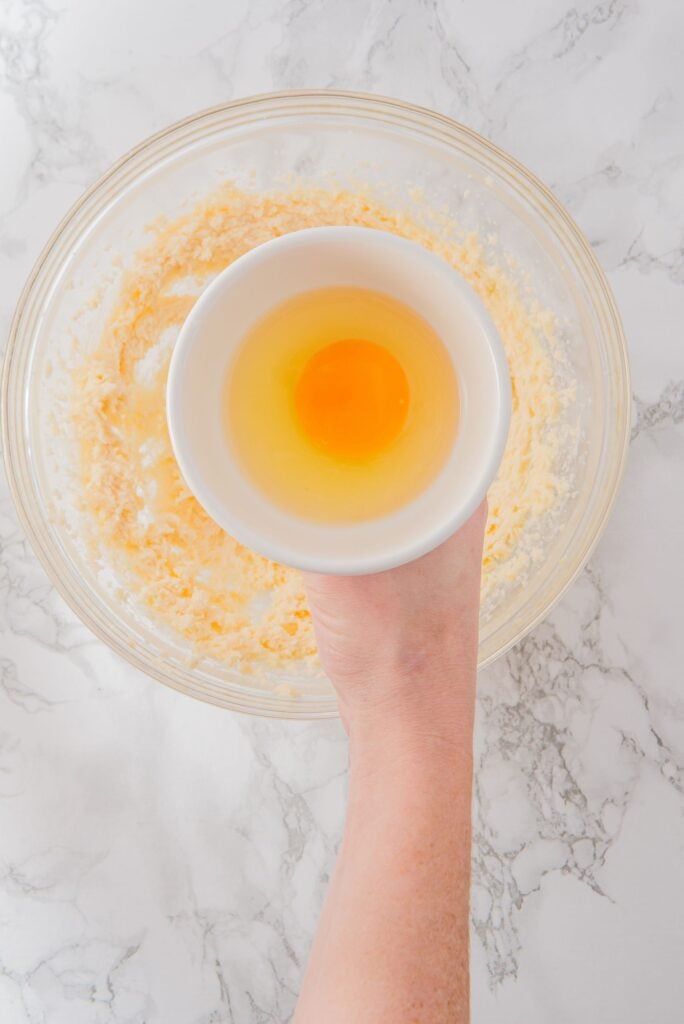
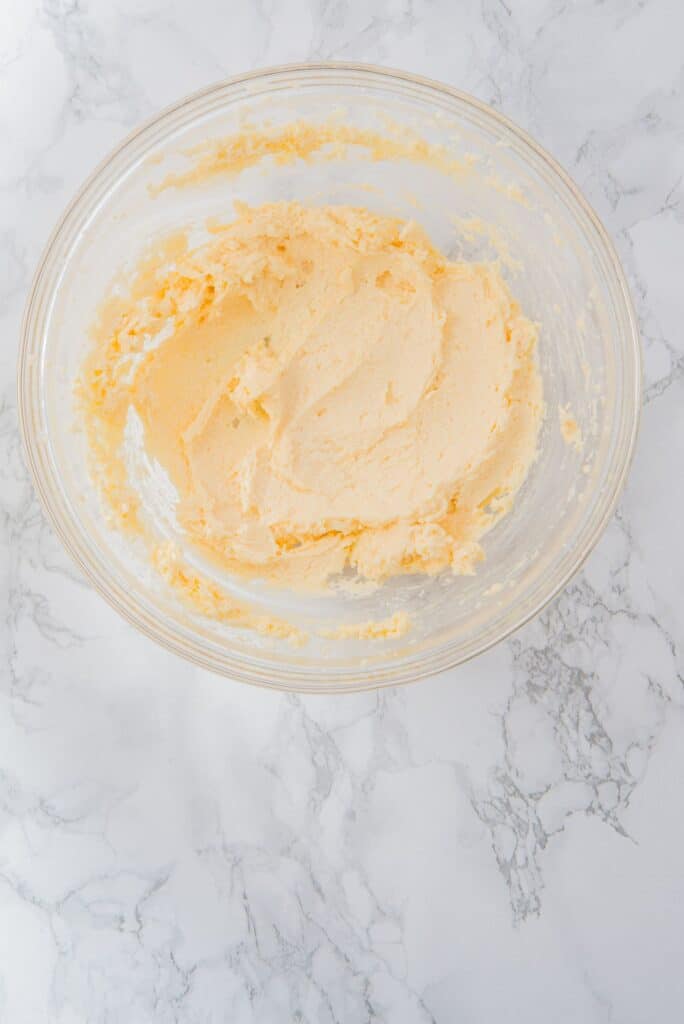
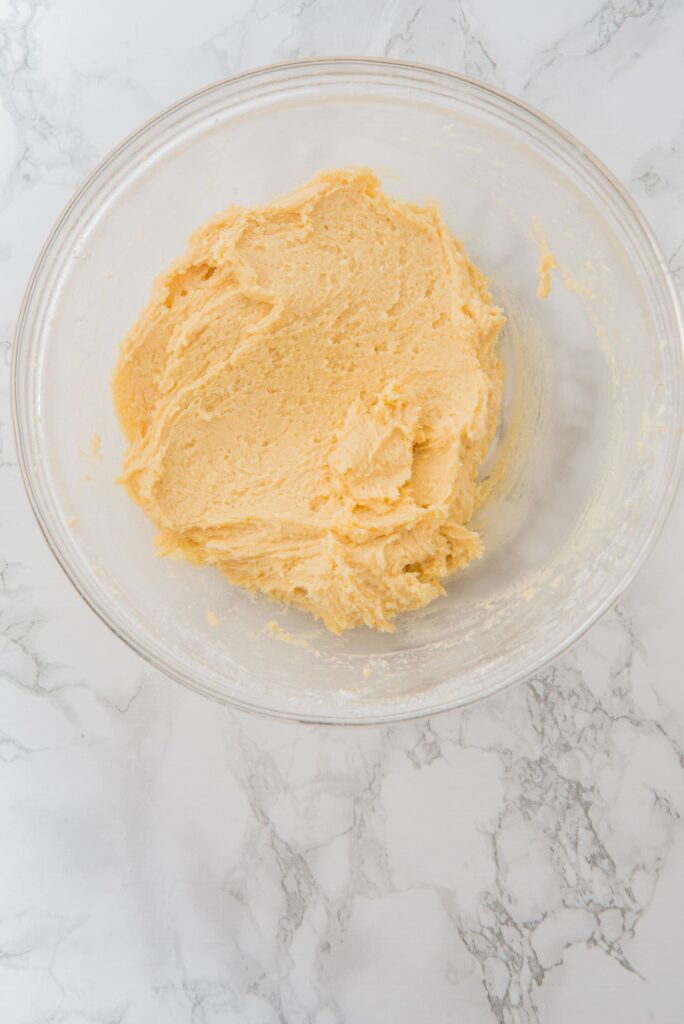
1. Prepare the dough: In a large bowl, beat the butter, sugar, and vanilla extract until light and creamy. Add the egg and continue beating until fully combined.


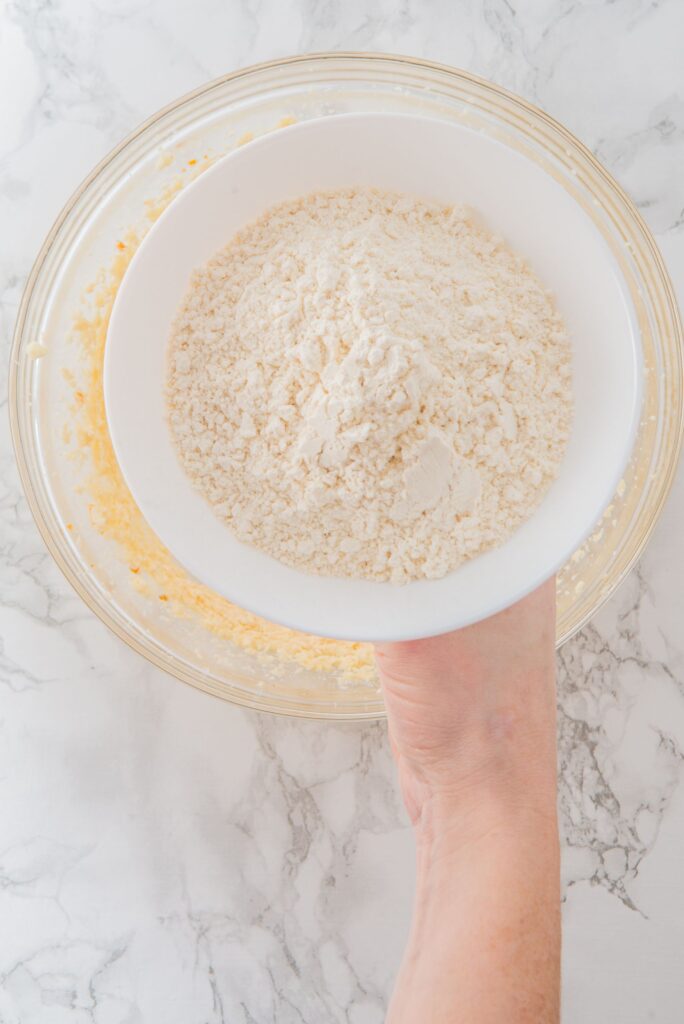
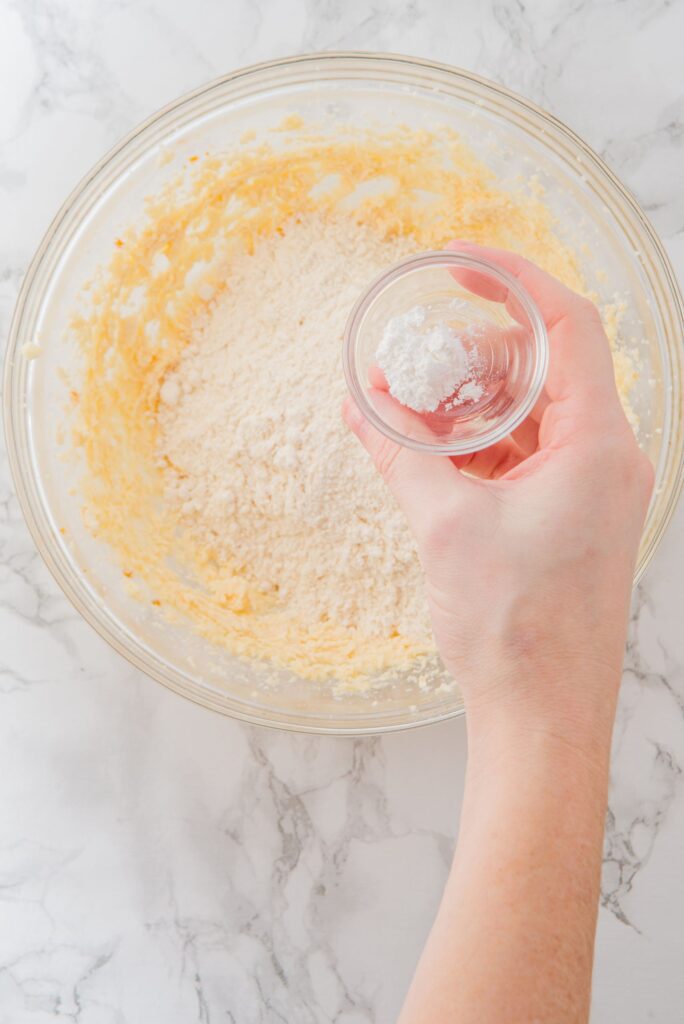
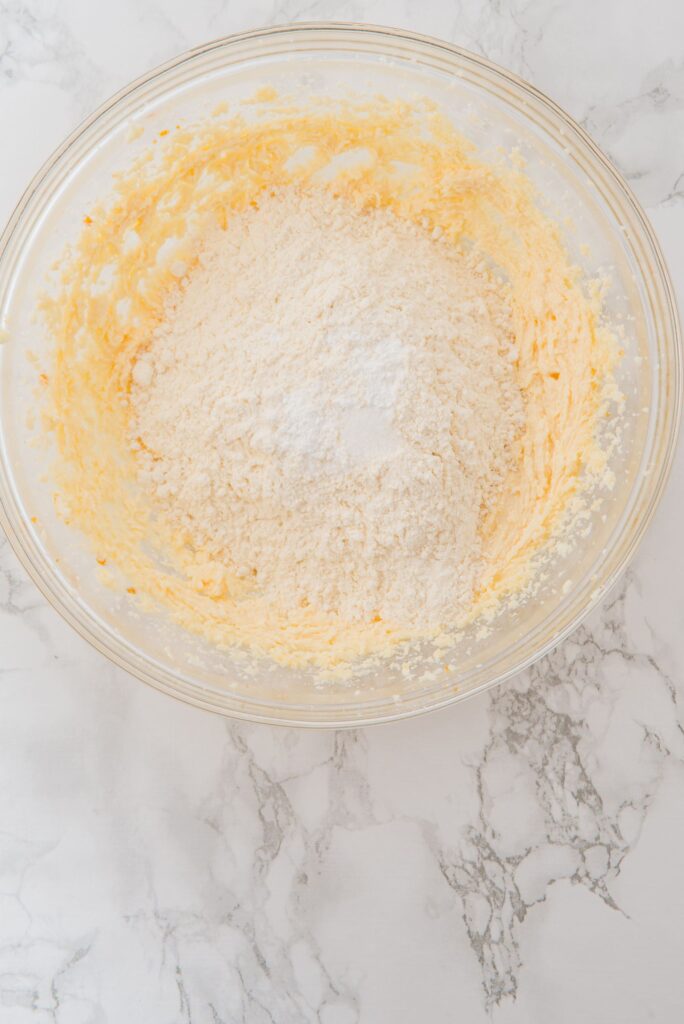
2. Stir in the dry ingredients: In the same bowl, add the flour, baking powder, and salt. Use a spatula to combine the dry and wet ingredients until a smooth dough forms.
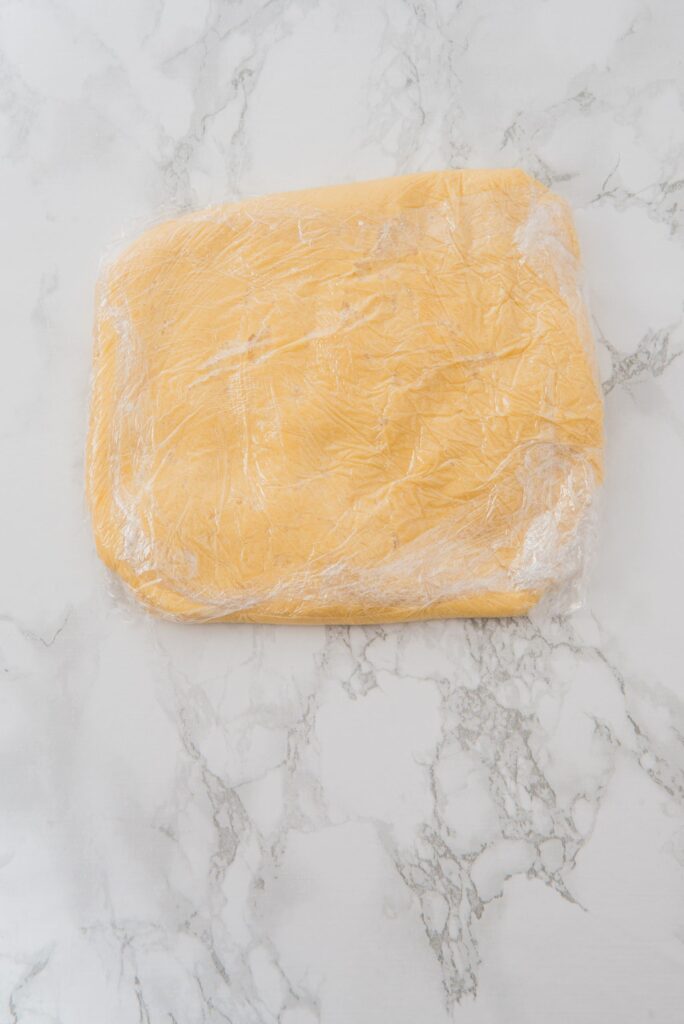
3. Chill the dough: Place the dough on a piece of plastic wrap and flatten it into a rectangular shape. Wrap it tightly and place it in the freezer for at least 2 hours, preferably overnight.
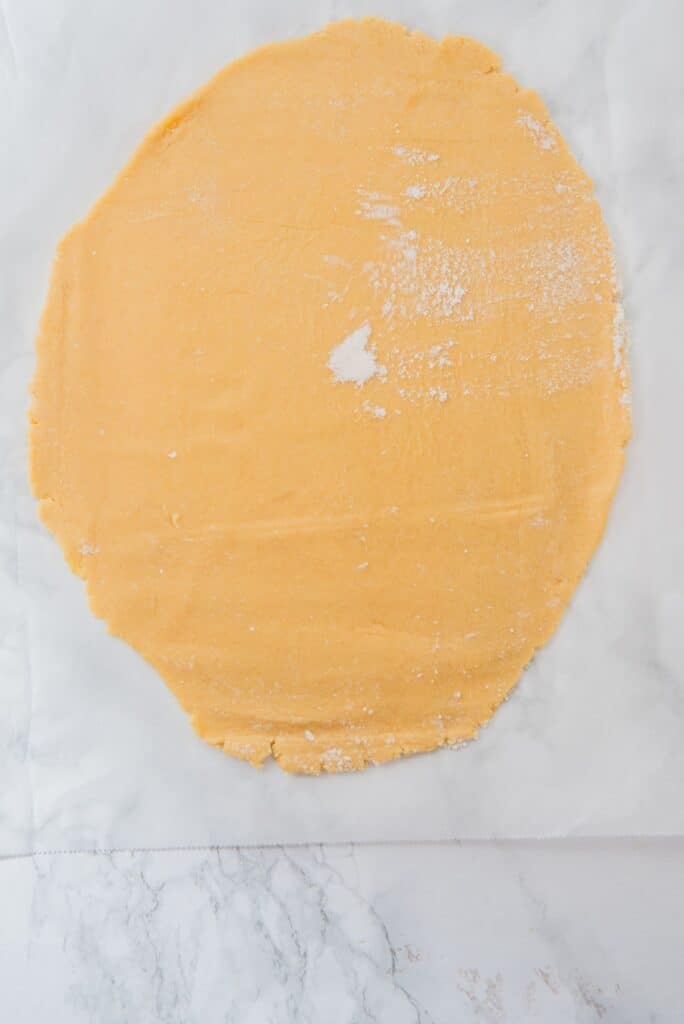
4. Roll and cut: Remove the dough from the freezer and place it on a lightly floured surface. Roll it out with a rolling pin until it is approximately 0.6 cm (1/4 inch) thick. Use Easter Bunny-themed cookie cutters to shape them.

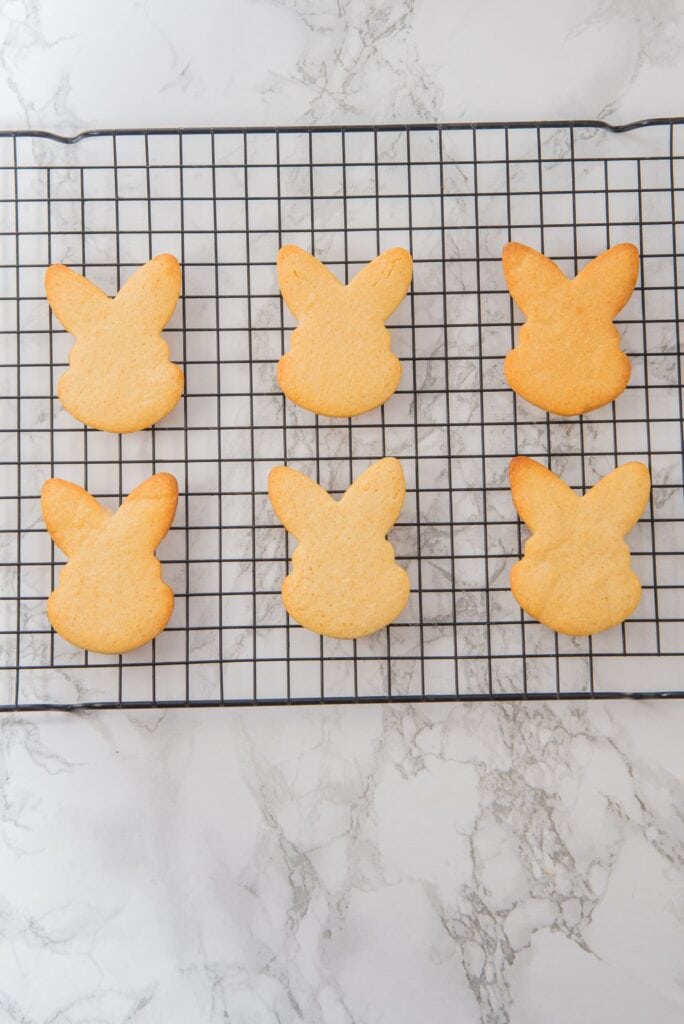
5. Chill and bake: Place the cookies on a baking sheet lined with parchment paper. If desired, refrigerate again for 5 minutes or freeze briefly to retain their shape. Bake in a preheated oven at 350°F (175°C) for 8-9 minutes, or until the edges are lightly golden. Remove from the oven and let cool completely before decorating.
6. Icing Preparation: In a bowl, combine the powdered sugar and meringue powder, then gradually add 3 to 4 tablespoons of water while beating at medium speed. Beat for about 7 minutes or until you reach a ribbon consistency. If the icing is too thick, add more water, one teaspoon at a time, until you reach the desired consistency.


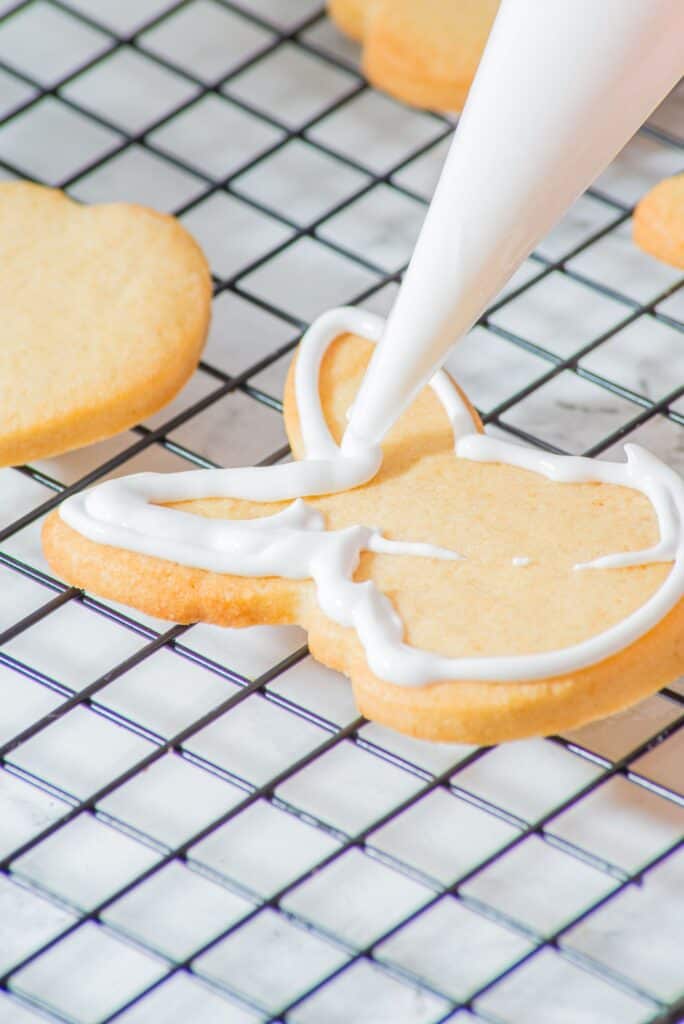
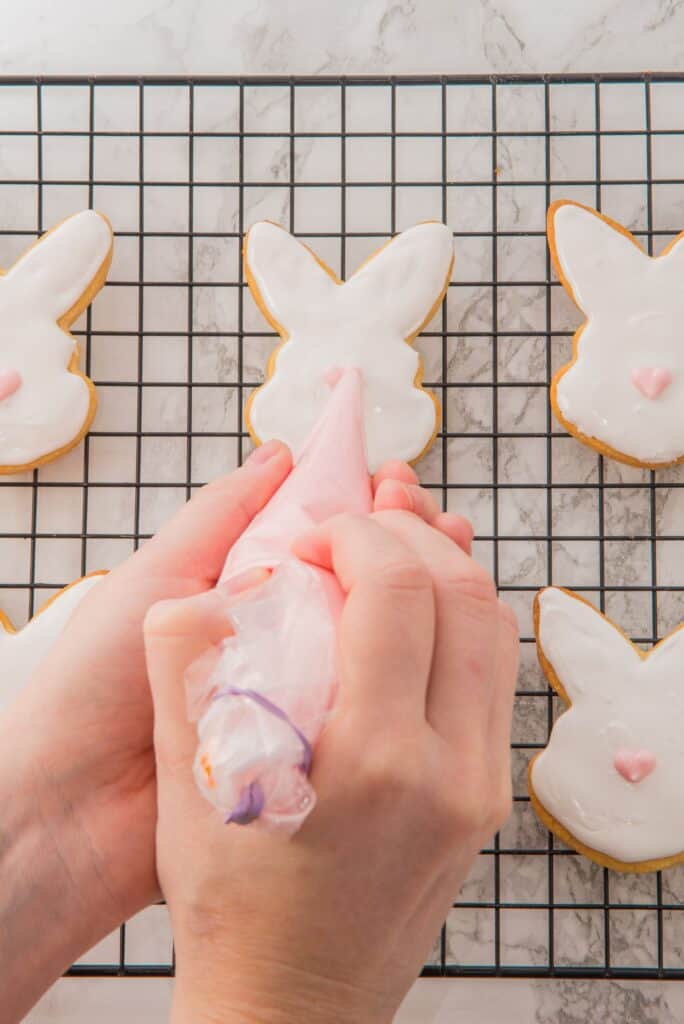
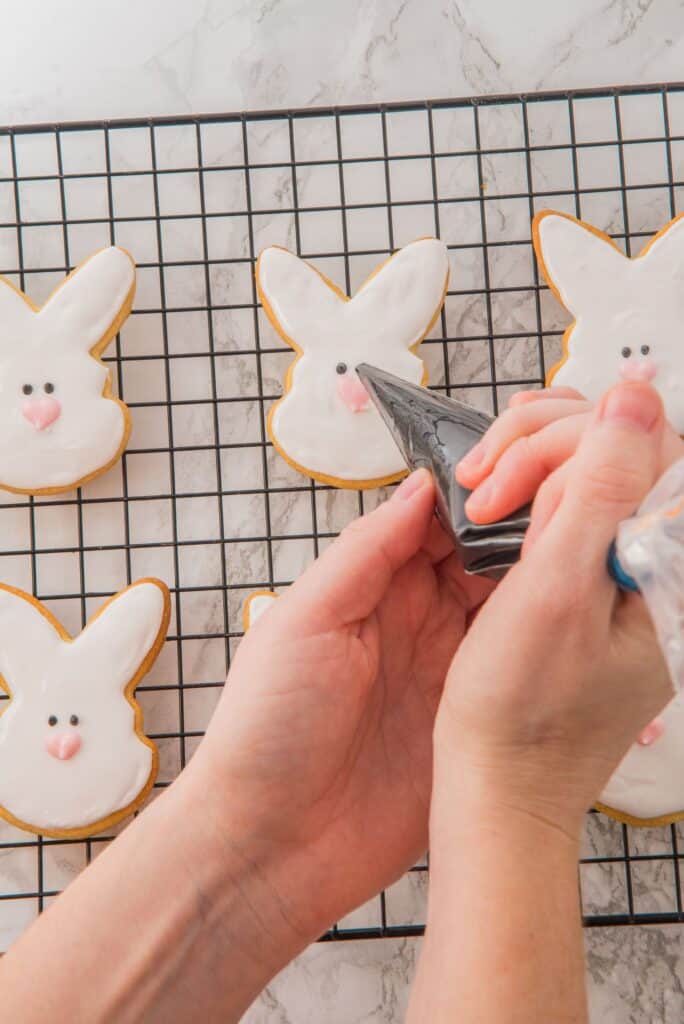
7. Color and Decorate: If using different colors, divide the icing into bowls. For black icing, use a small portion and gradually add black food coloring until you get the desired shade. For pink, use red food coloring. Transfer the icing to piping bags and decorate the cookies as desired. Use a toothpick to add details or secure the design.


8. Let Dry: Let the decorated cookies dry completely before storing or serving.

Variations and Substitutions

Cutouts: You can use any shape you want for the Easter cookies and it’s extra fun if you use a variety of cutouts.
Nutty: Add a splash of almond extract to the base of the cookies for a mild, nutty flavor.
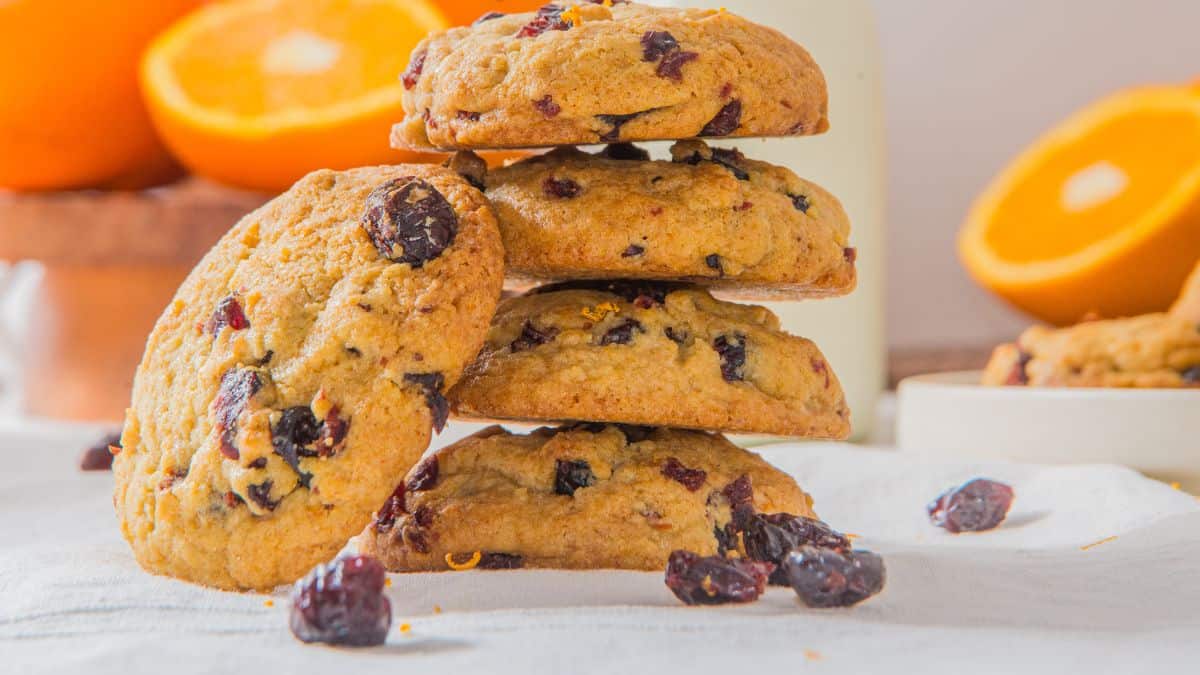
Refreshing: Ring in spring and bring the brightness of the cookies up by using a lemon extract or zesting the rind into the base of the cookies.
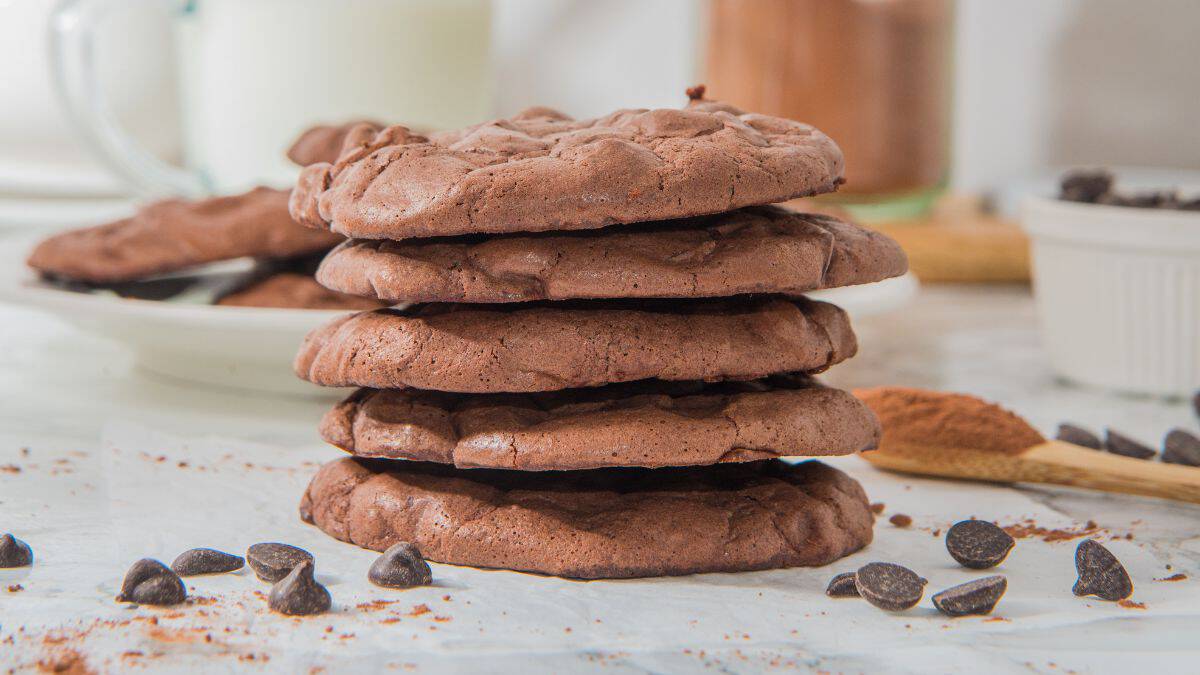
Chocolate: If you have chocolate lovers in the family, replace one tablespoon of flour with cocoa powder for a hint of rich chocolate taste.
Decorating: Mix and match dyes as you can to bring pops of color to the serving tray. It’s also fun for kids when different sprinkles or glitter sprinkles are used on top of the icing.
How To Make The Best Easter Cookies

Make sure you adhere to baking basics and use room-temperature butter so that everything mixes evenly. Also, take care not to overmix the batter or your cookies tend to become too tough.
To roll the dough, only sprinkle a tiny bit of flour onto the counter. Adding too much can make the cookies dry out. Take care to roll each batch to a similar thickness (about ¼ inch) so that they bake evenly.
Crucial hack: When placing your cutouts on the baking tray, use a chilled tray. This prevents the cookies from heating up and spreading before baking. Another option would be to pop them into the freezer for five minutes before you bake them to firm them up.
The cookies are done baking when they’re golden around the edges so keep a good eye on them in the last few minutes. They’ll keep cooking on the tray once removed from the oven.
Adjust the icing so that the end result flows smoothly and creates ribbons that hold together for a few seconds before blending into the rest. Add small amounts of water and test the texture until you get the perfect consistency.
The Easter cookies need time to set and dry before you serve them as this is when the icing hardens. This can take a few hours or even overnight depending on the humidity in the house. Do not layer or store the cookies until they’re set.
Once set, store the cookies in an airtight container for up to one week at room temperature.

Easter Cookies
Ingredients
- 1/2 cup butter room temperature
- 1/2 cup sugar
- 1 egg
- 1 1/2 cups all-purpose flour
- 1/4 cup baking powder
- 1 tsp vanilla extract
- pinch salt
For the icing:
- 3 cups powdered sugar
- 1 tbsp meringue powder
- 3 tbsp water
- Red food coloring
- Black food coloring
Instructions
- Prepare the dough: In a large bowl, beat the butter, sugar, and vanilla extract until light and creamy. Add the egg and continue beating until fully combined.
- Stir in the dry ingredients: In the same bowl, add the flour, baking powder, and salt. Use a spatula to combine the dry and wet ingredients until a smooth dough forms.
- Chill the dough: Place the dough on a piece of plastic wrap and flatten it into a rectangular shape. Wrap it tightly and place it in the freezer for at least 2 hours, preferably overnight.
- Roll and cut: Remove the dough from the freezer and place it on a lightly floured surface. Roll it out with a rolling pin until it is approximately 0.6 cm (1/4 inch) thick. Use Easter Bunny-themed cookie cutters to shape them.
- Chill and bake: Place the cookies on a baking sheet lined with parchment paper. If desired, refrigerate again for 5 minutes or freeze briefly to retain their shape. Bake in a preheated oven at 350°F (175°C) for 8-9 minutes, or until the edges are lightly golden. Remove from the oven and let cool completely before decorating.
- Icing Preparation: In a bowl, combine the powdered sugar and meringue powder, then gradually add 3 to 4 tablespoons of water while beating at medium speed. Beat for about 7 minutes or until you reach a ribbon consistency. If the icing is too thick, add more water, one teaspoon at a time, until you reach the desired consistency.
- Color and Decorate: If using different colors, divide the icing into bowls. For black icing, use a small portion and gradually add black food coloring until you get the desired shade. For pink, use red food coloring. Transfer the icing to piping bags and decorate the cookies as desired. Use a toothpick to add details or secure the design.
- Let Dry: Let the decorated cookies dry completely before storing or serving.
Notes
- Room Temperature Butter: Make sure the butter is at room temperature for easier creaming. If it’s too cold, the dough will be harder to mix.
- Avoid Overmixing: Once you add the dry ingredients, mix until just combined to prevent tough cookies.
- Flour the Surface Sparingly: Use only a small amount of flour when rolling out the dough to avoid drying it out.
- Uniform Thickness: Ensure the dough is rolled to an even 1/4 inch (0.6 cm) thickness for consistent baking.
- Use Cold Baking Sheets: Make sure the baking sheets are cool when placing the cookies on them. Warm sheets can cause cookies to spread.
- Freezing for Better Shape: For sharp cookie shapes, chill the cut cookies in the freezer for 5 minutes before baking.
- Don’t Overbake: The cookies should be just slightly golden around the edges. They will continue to cook slightly on the baking sheet after being removed from the oven.
- Icing Consistency: The icing should flow smoothly and create ribbons that hold for a few seconds before blending into the rest. Adjust the consistency with small amounts of water if needed.
- Drying the Icing: Allow the cookies to dry fully after decorating. Depending on humidity, this can take a few hours to overnight. Store them in an airtight container once dry.
- Storing Cookies: Store undecorated cookies in an airtight container for up to 1 week. Decorated cookies should be stored once the icing is completely dry.